
Creating a Core Group
AdminCreate the group workspace your Brainstorms and Simulations run in.
Overview
A group is the workspace a Brainstorm or Simulation runs in. A Core Group is the standing kind: a department, a function, a leadership team, any set of people who will run more than one decision together. Creating one is an admin-only ability. This guide walks you through it.
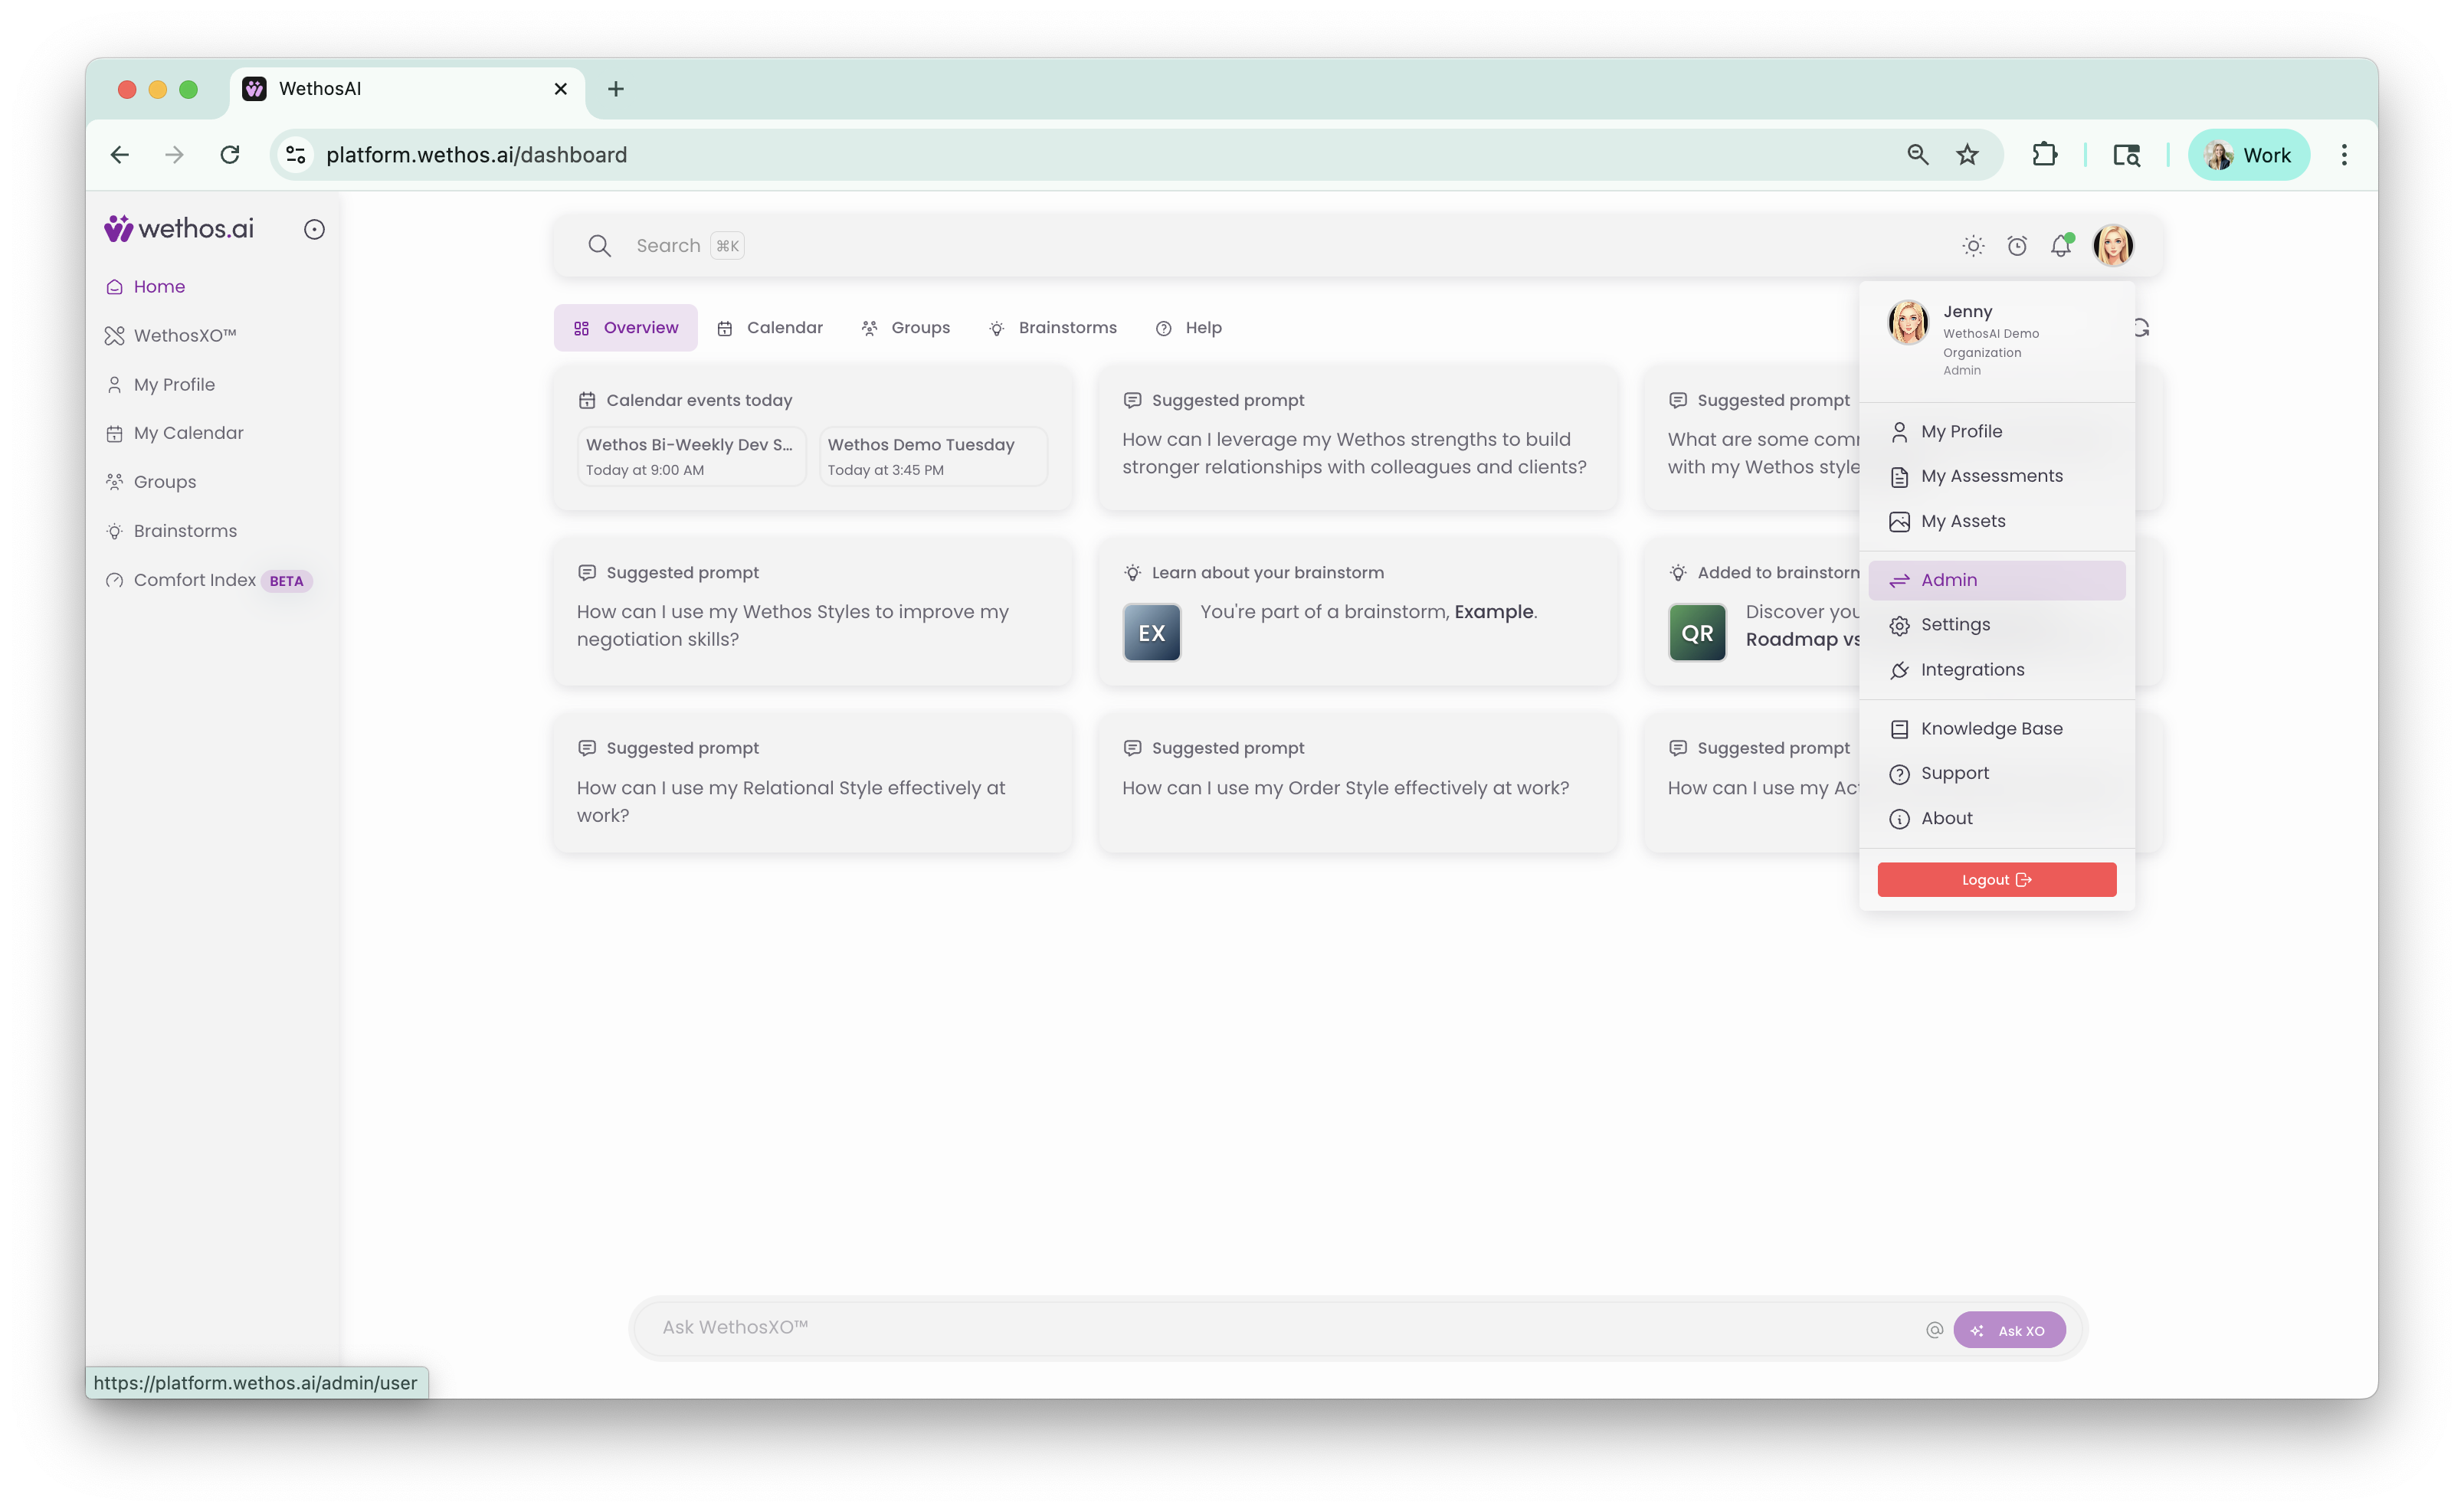
Note: You must have Admin permissions to create Core Groups. You can verify your role by clicking your profile icon, if you see "Admin" listed, you're good to go.
Access Admin mode
Click your profile icon in the top-right corner of the platform and select Admin to enter the Admin panel.
Navigate to Manage Groups
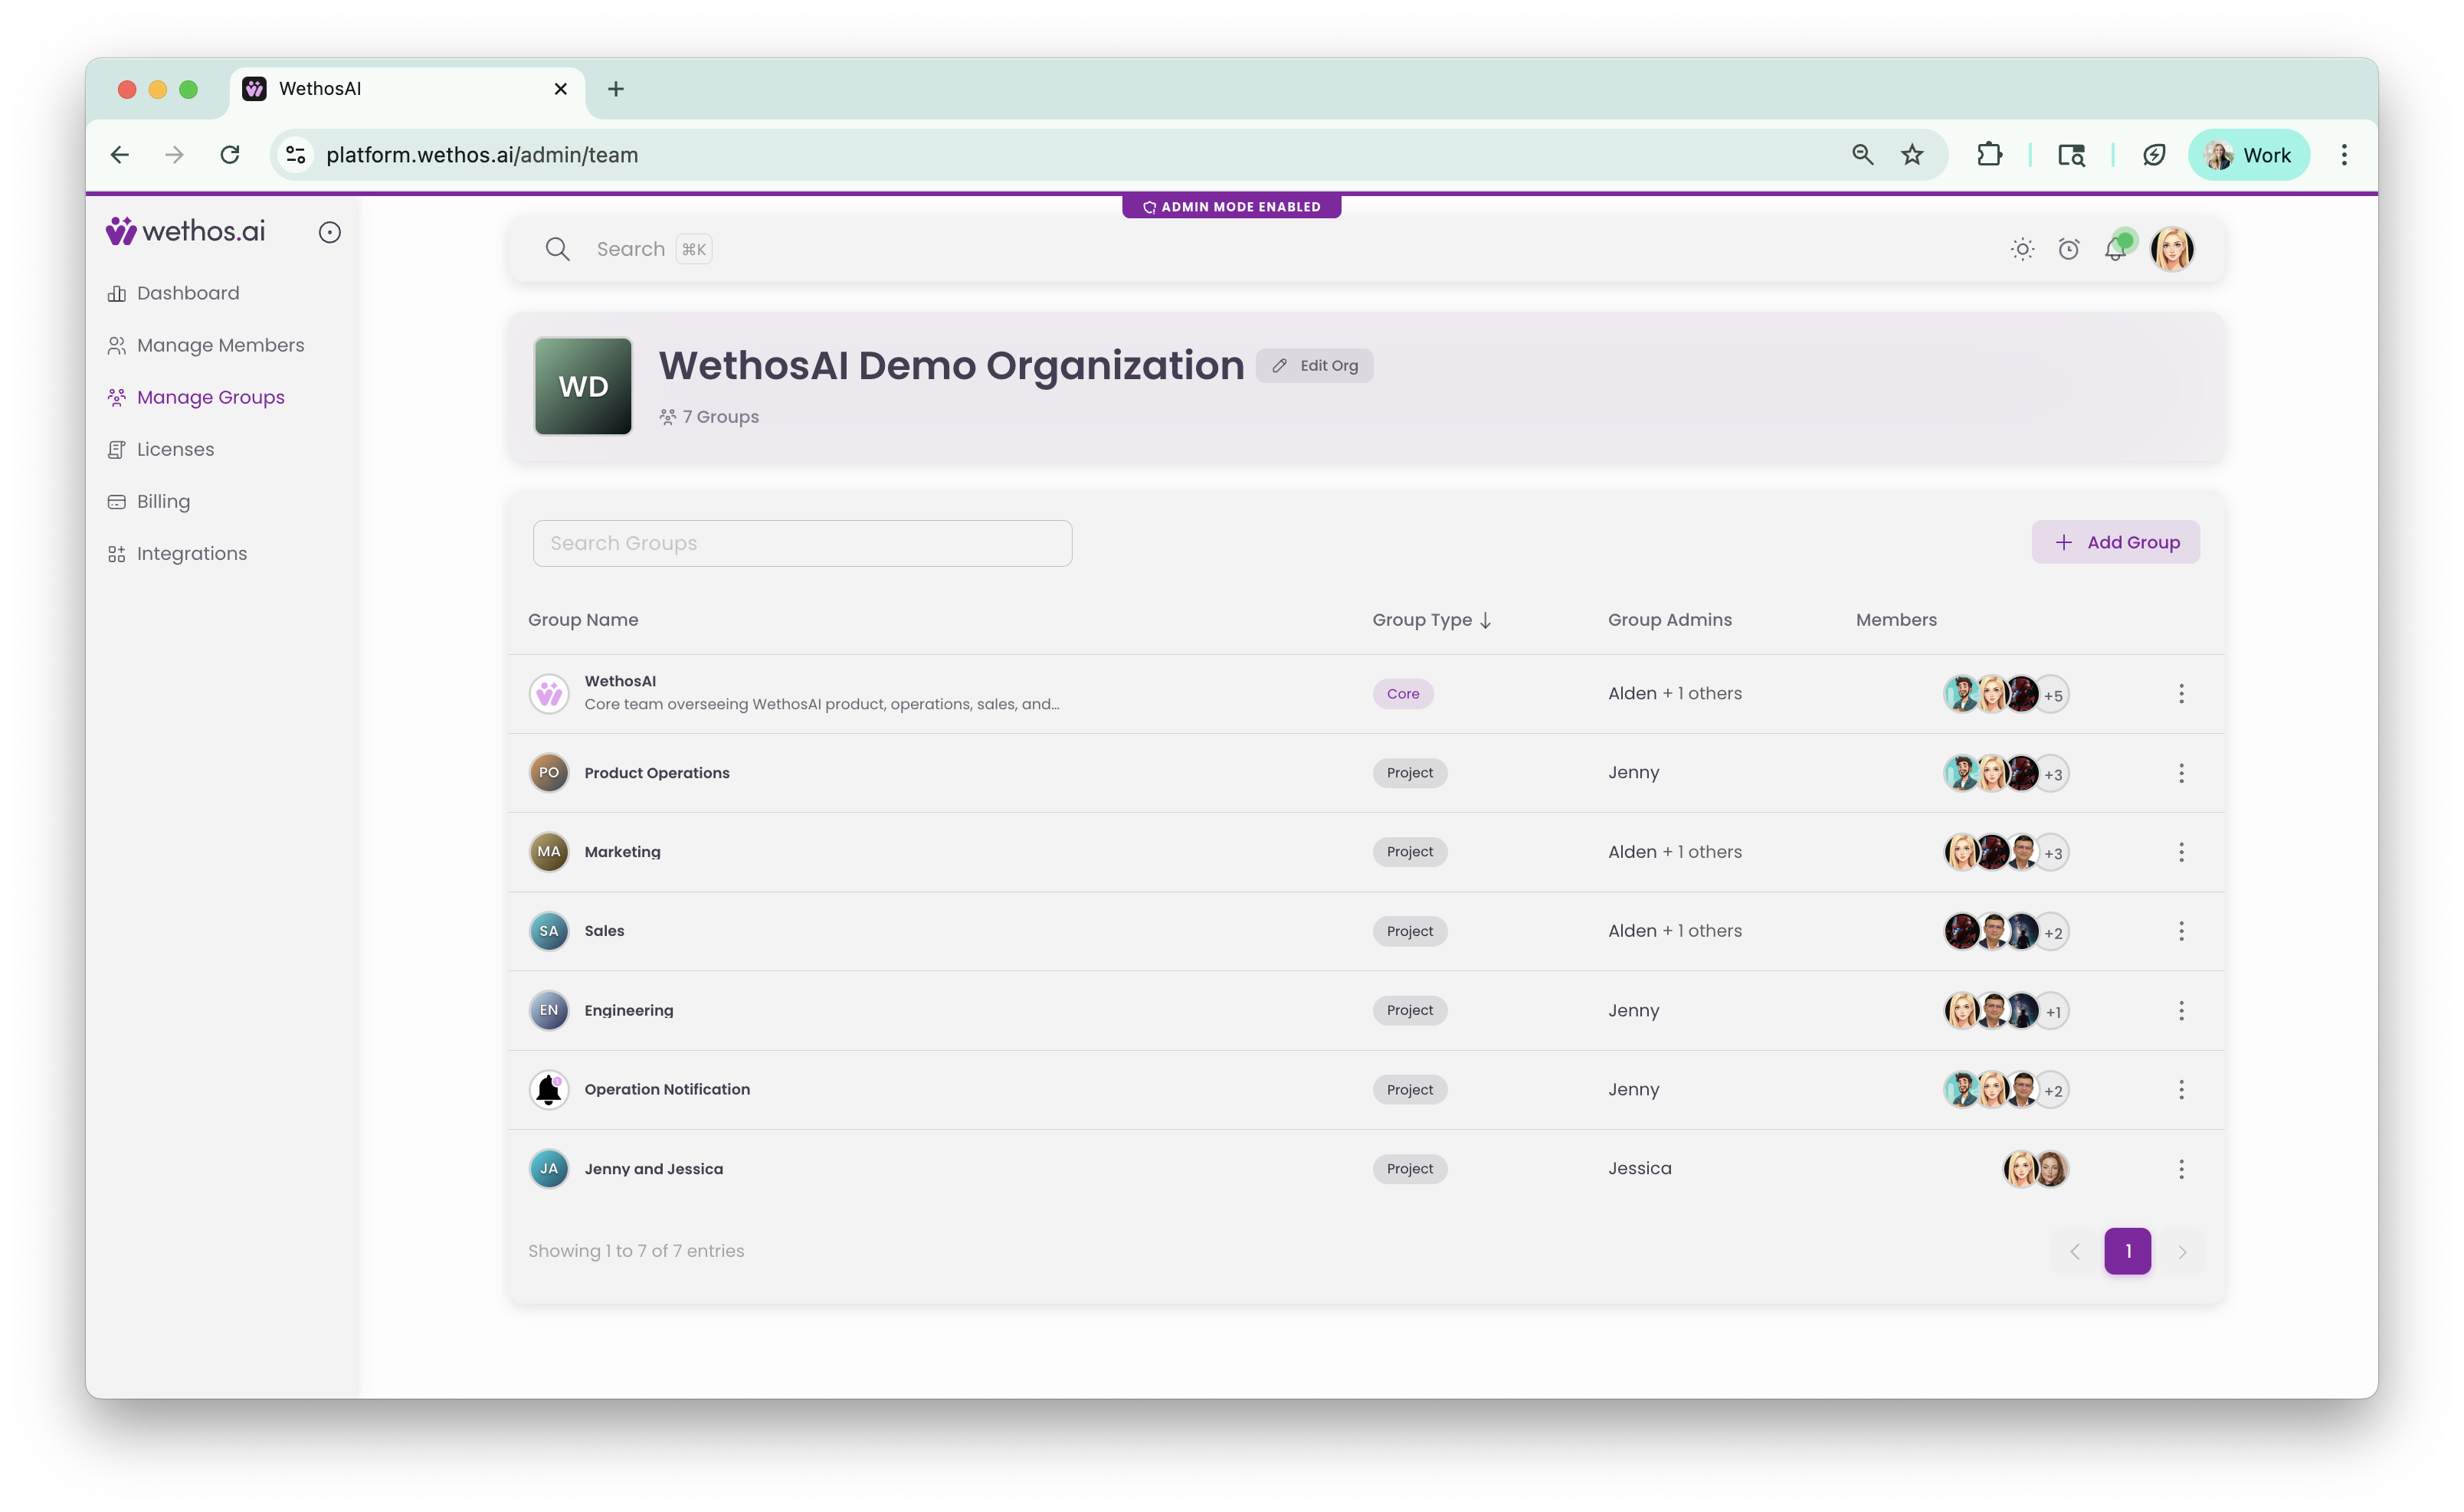
In the Admin panel's left-hand navigation, click Manage Groups.
Add a New Group
Click the Add Group button.
Enter group details
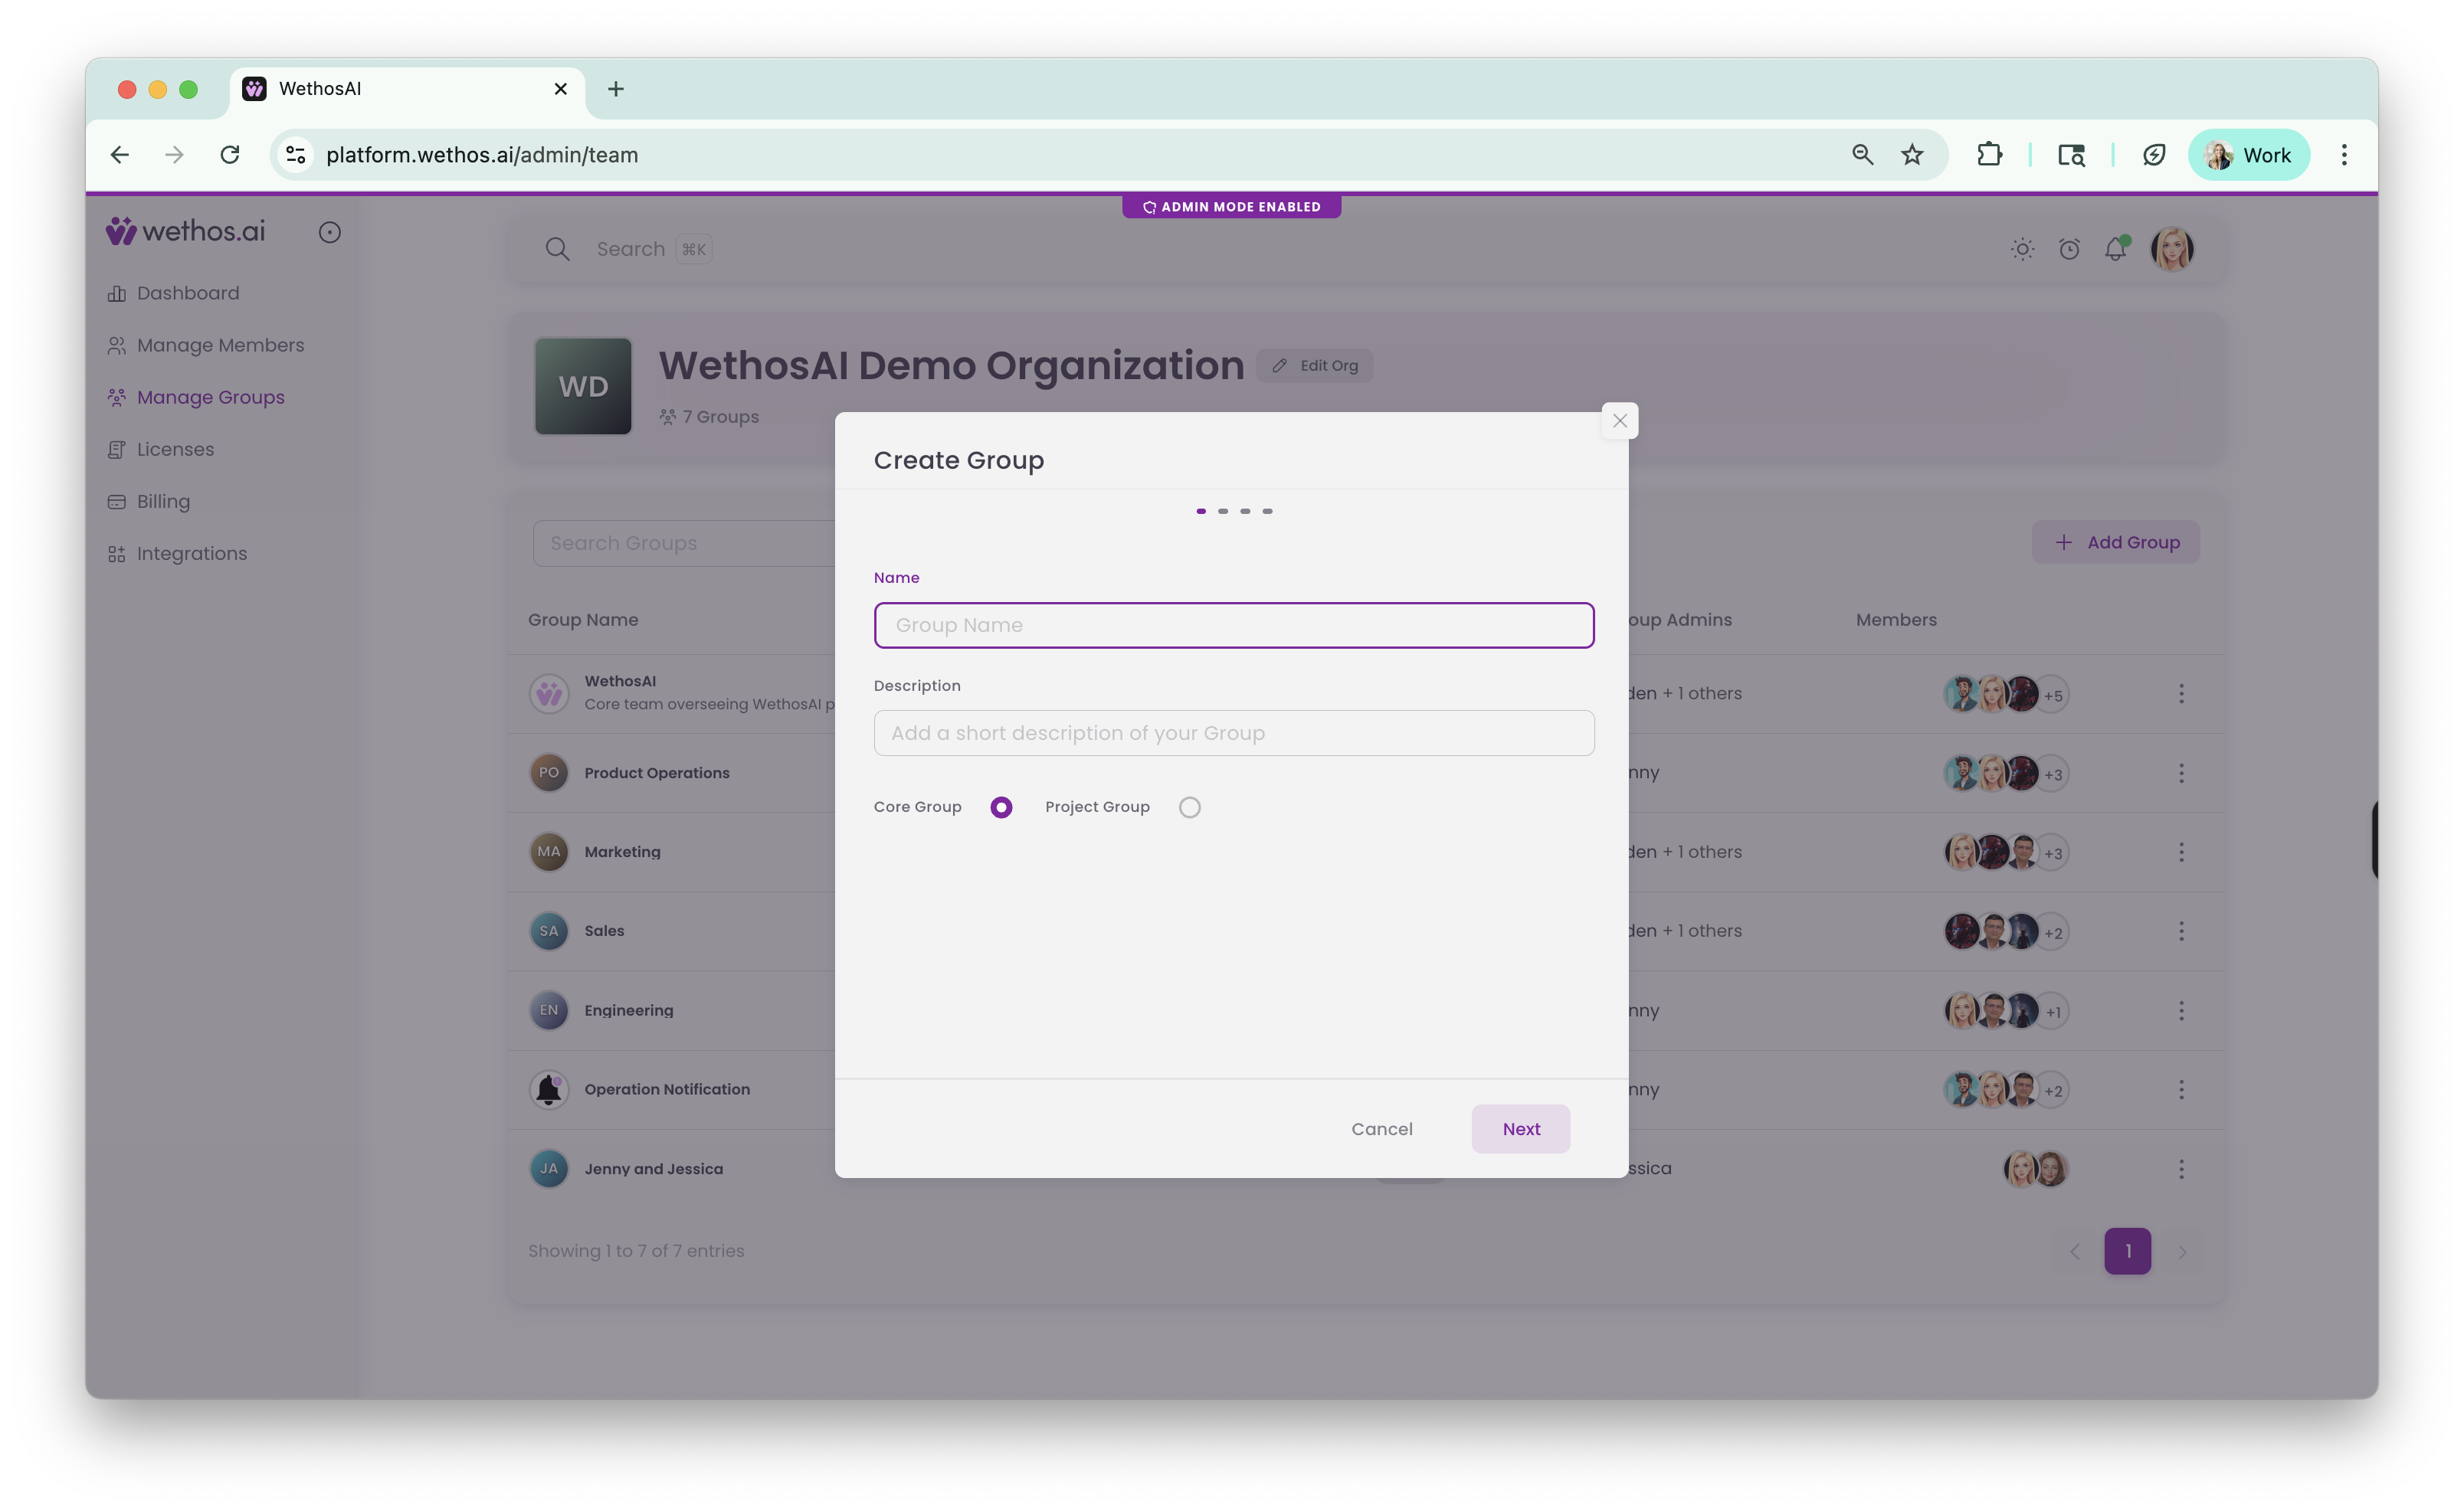
Enter a Group Name and Description. The description tells members what the group is for and gives XO context whenever it is asked a question inside the group.
Select Core Group
Choose Core Group as the group type, then click Next.
Add members
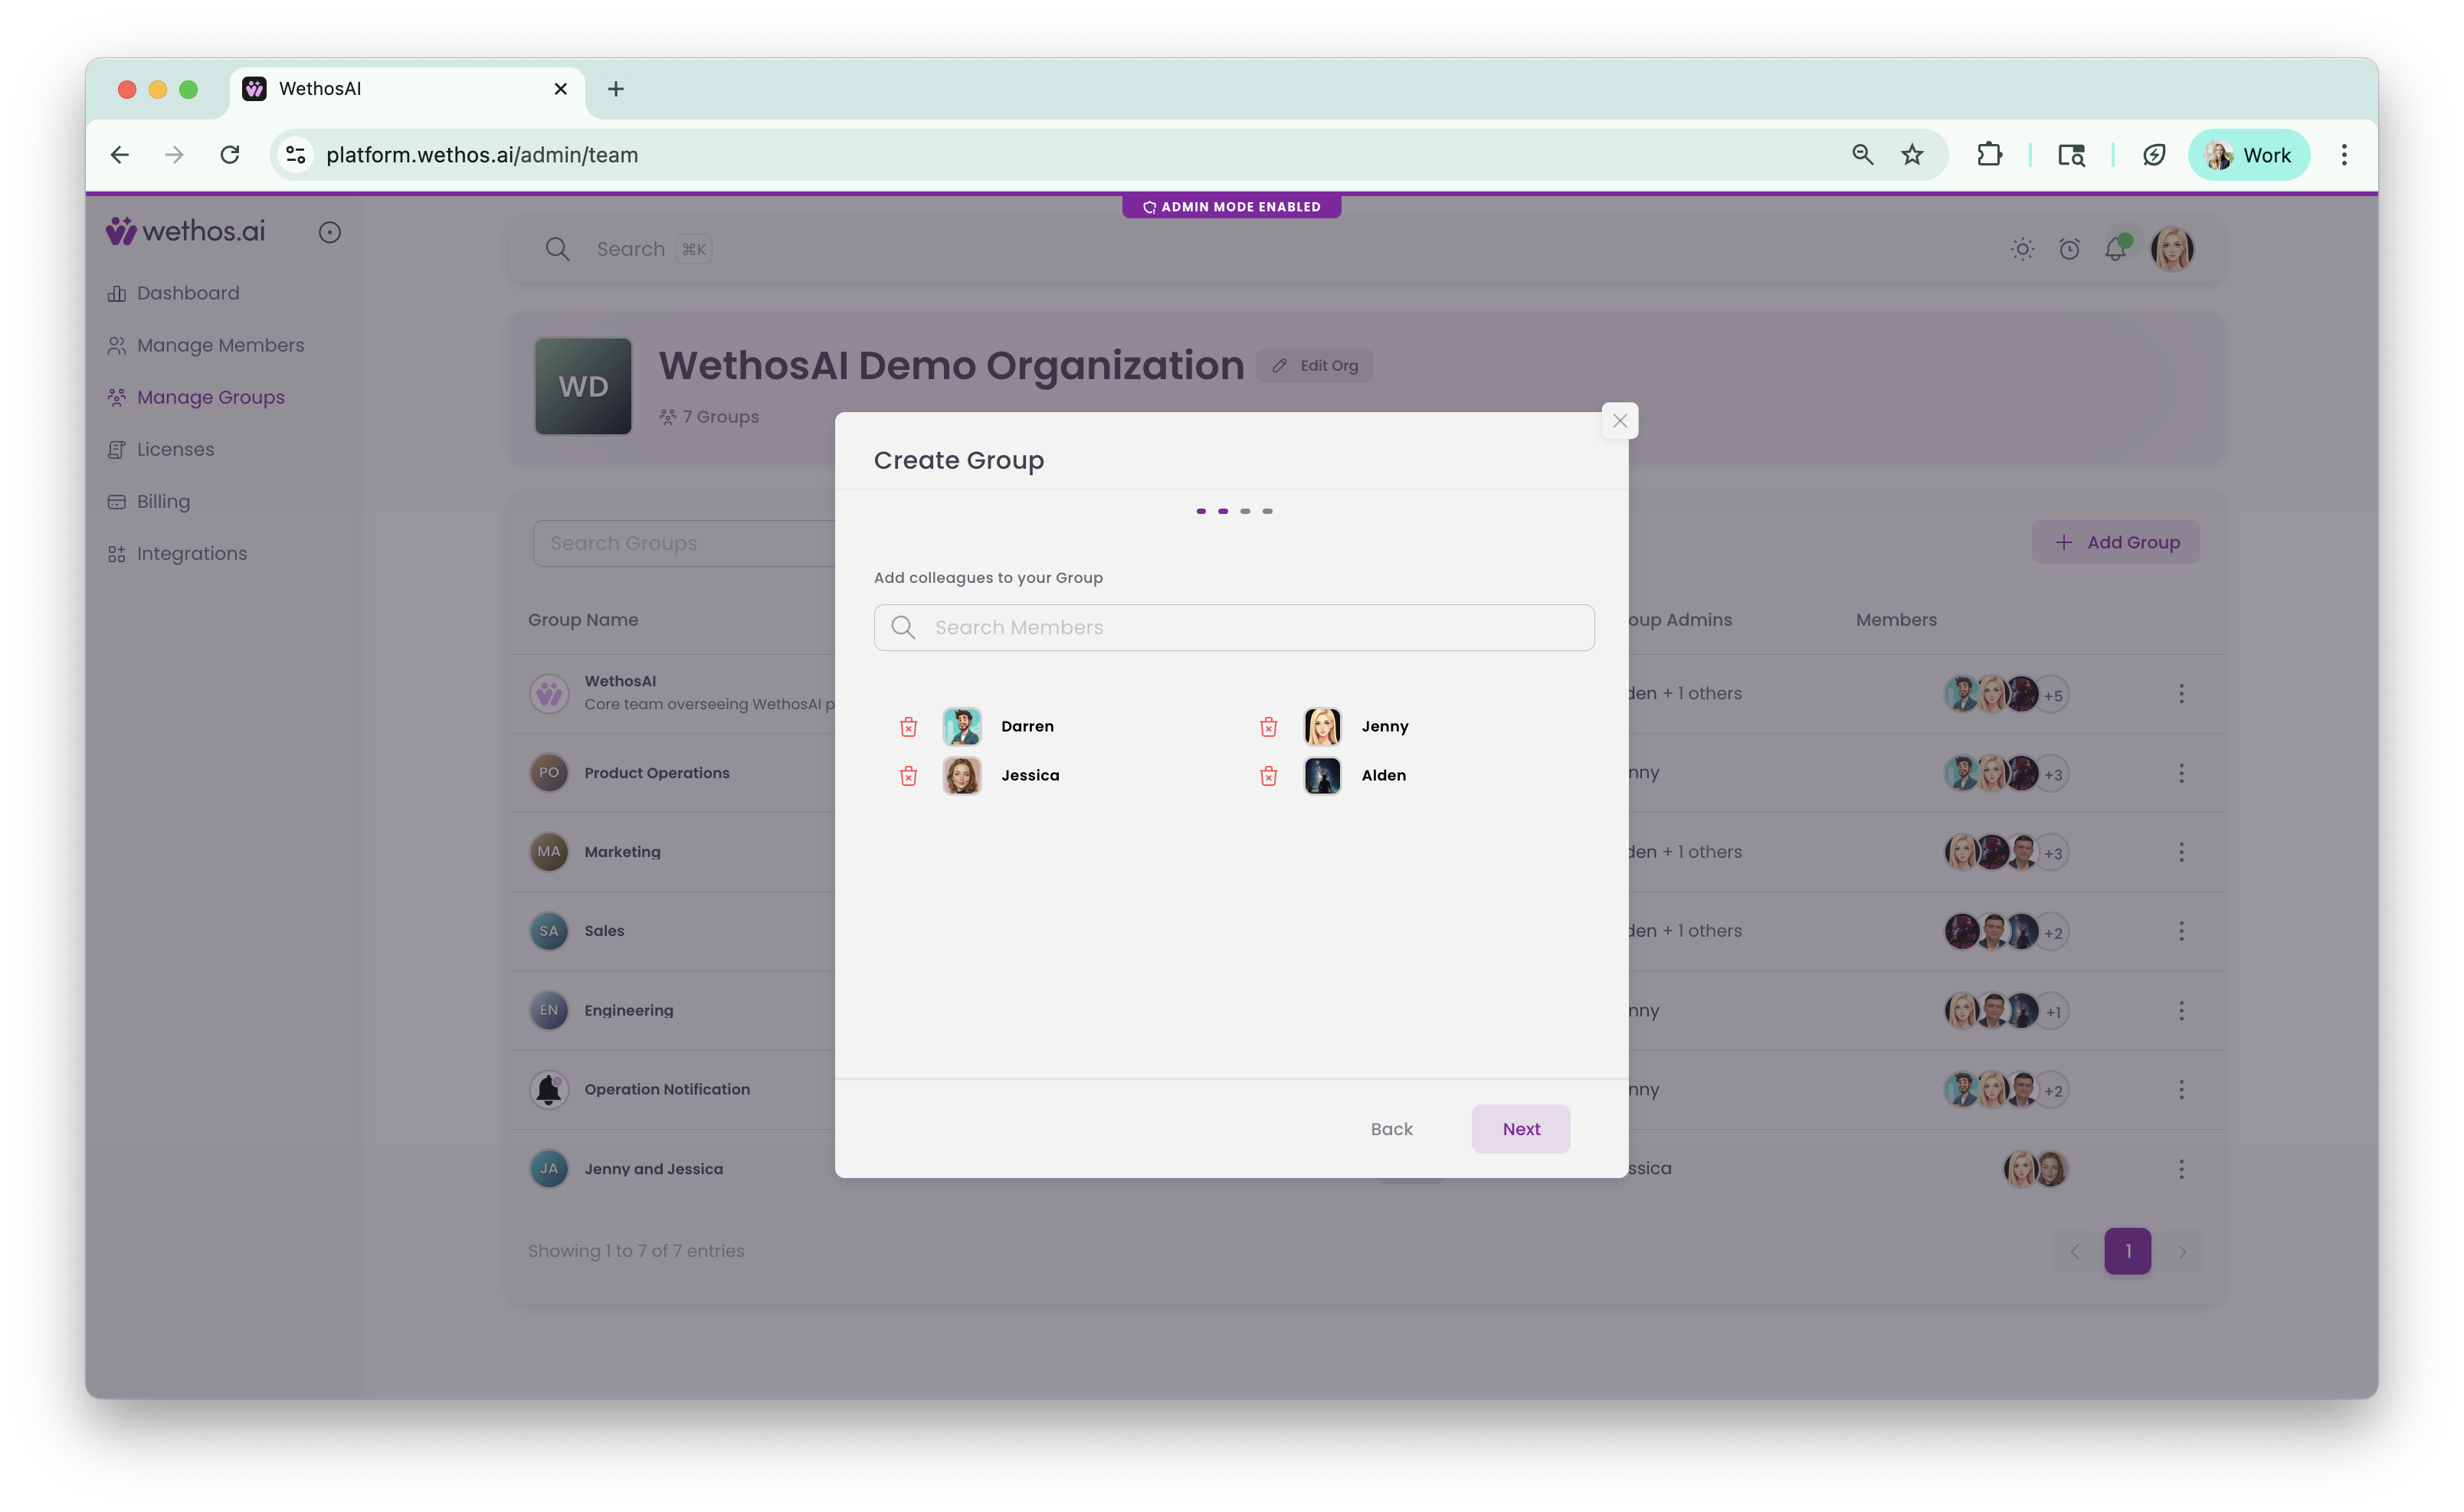
Search for and add the people who belong in it. You can add as many members as needed. Click Next once your members have been added.
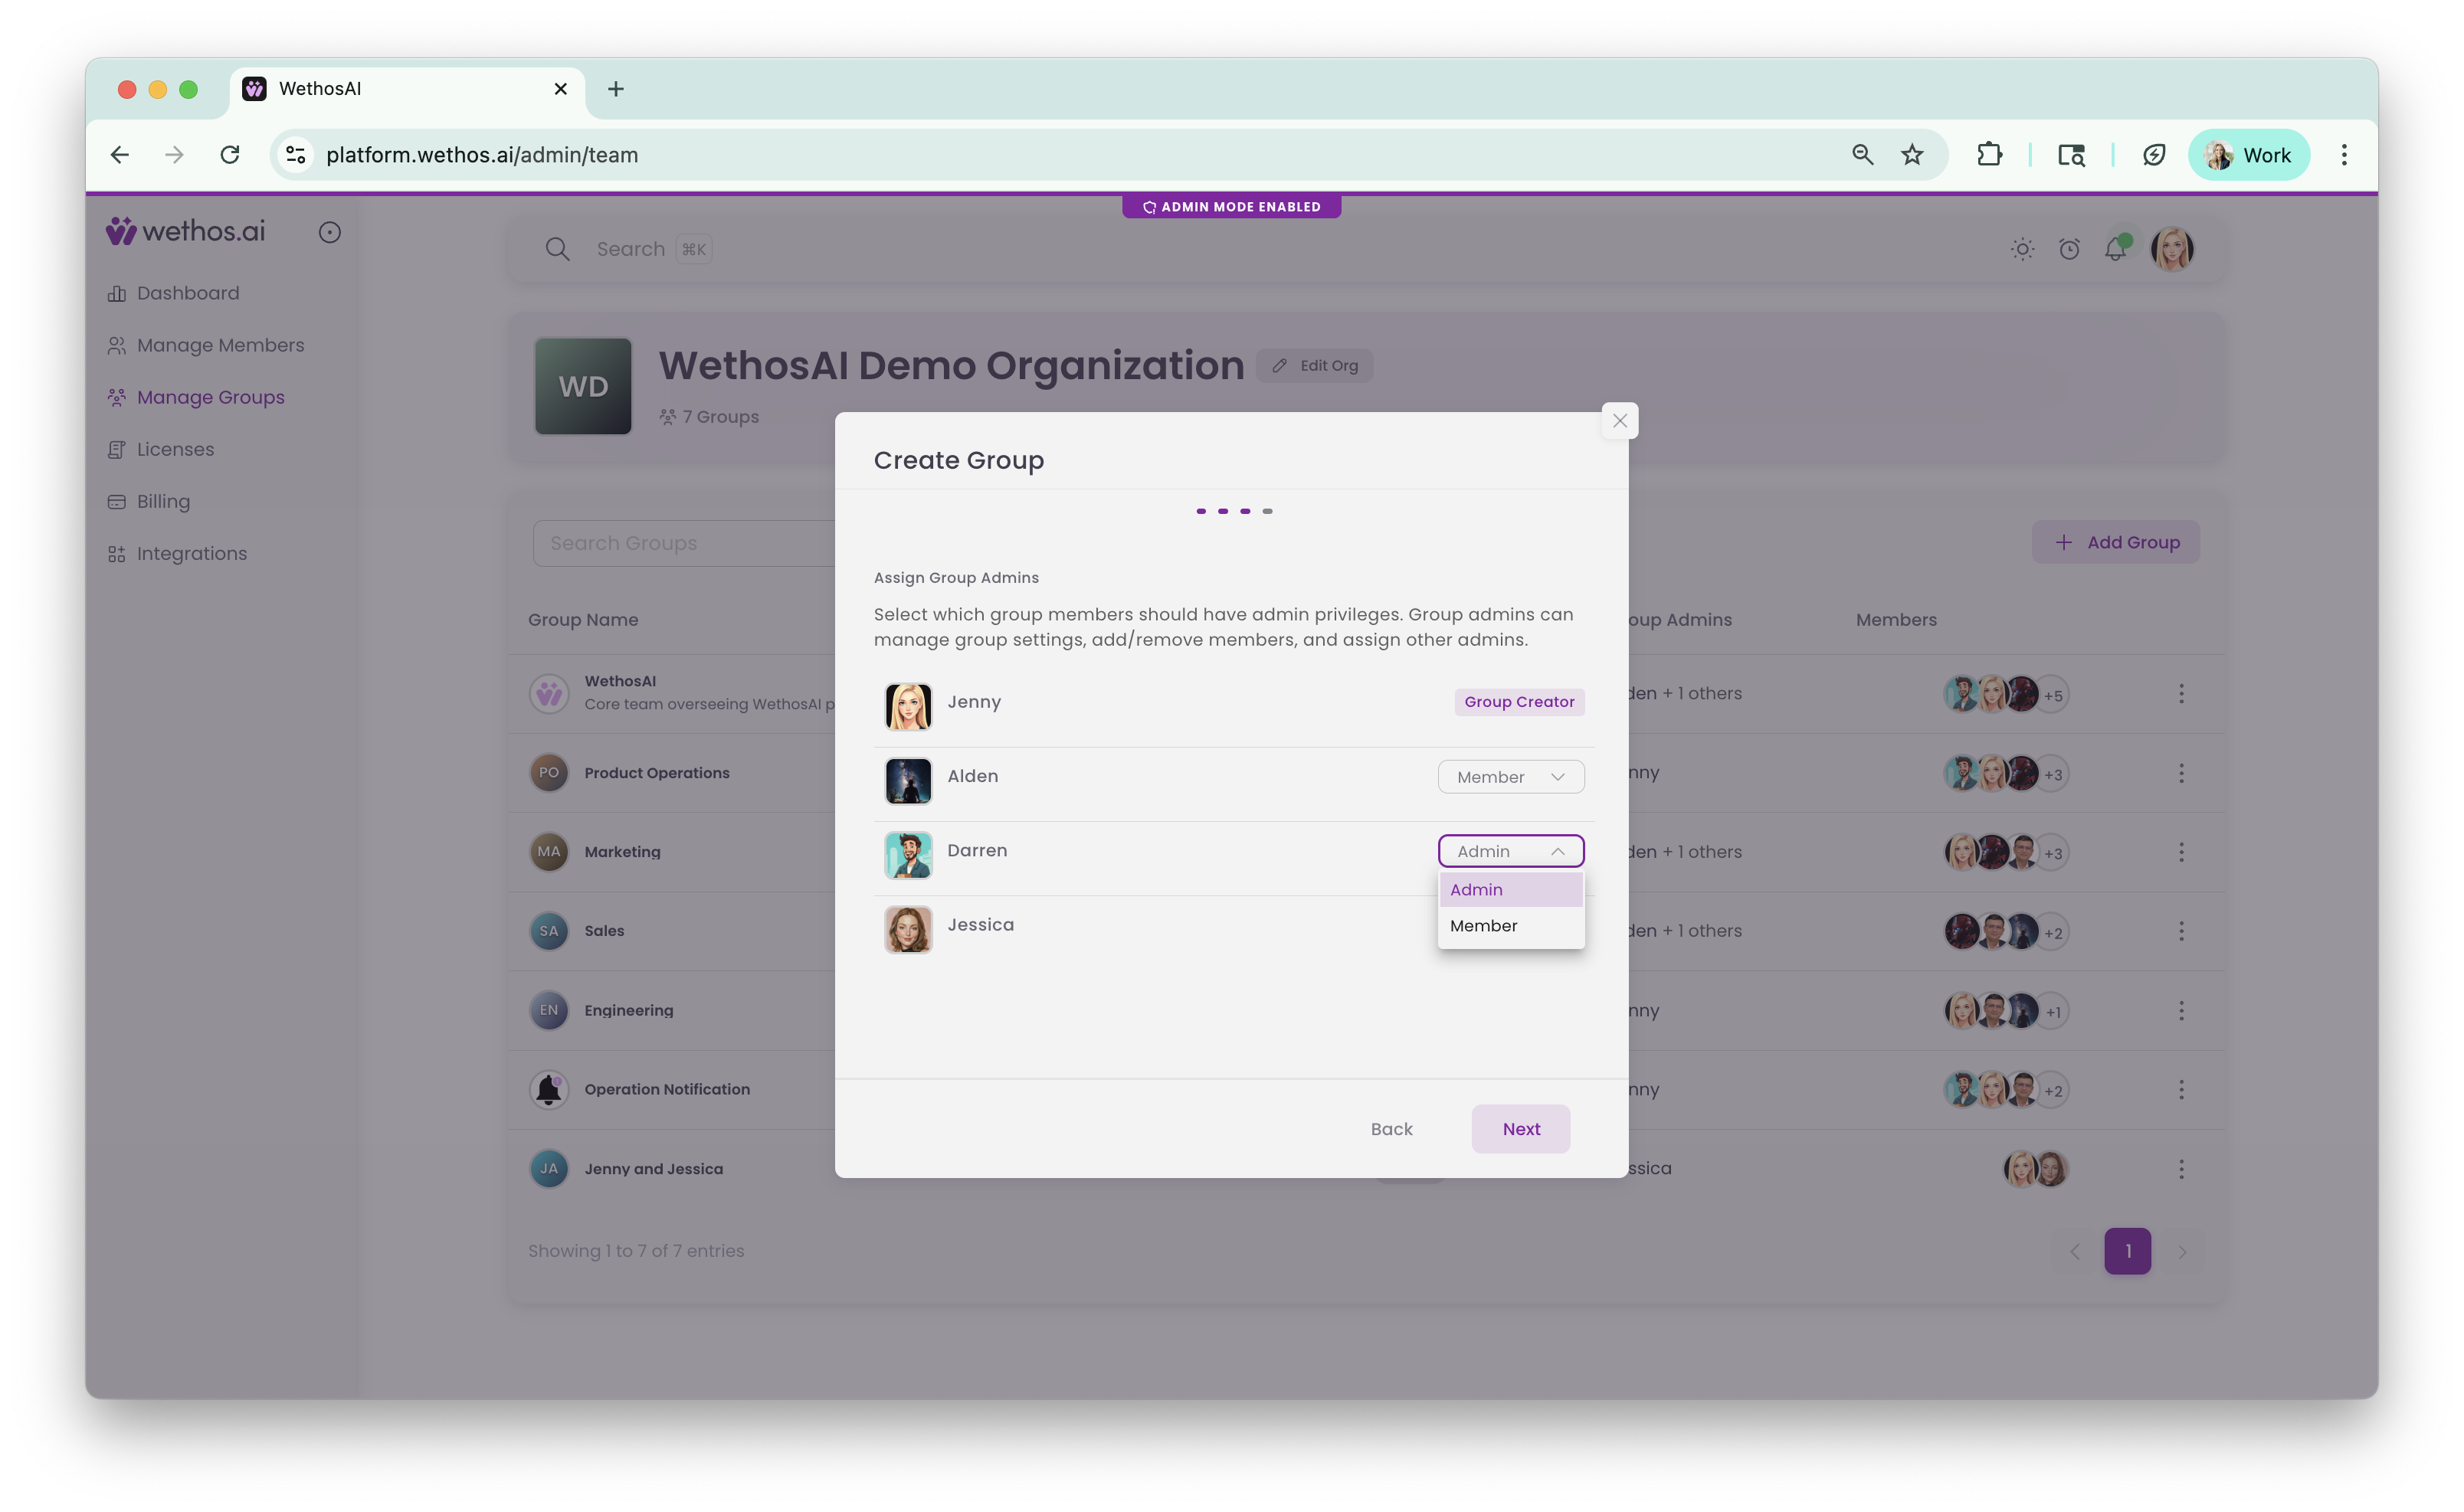
Assign group admins
The person who created the group is automatically listed as the Group Creator. For other members, use the dropdown to set their role as either Admin or Member. Group Admins can manage group settings, add or remove members, and assign other admins. Click Next when you're done.
Customize appearance (optional)
Upload a Group Image and Group Banner to give your group a visual identity. This step is optional, you can skip it or come back to it later.
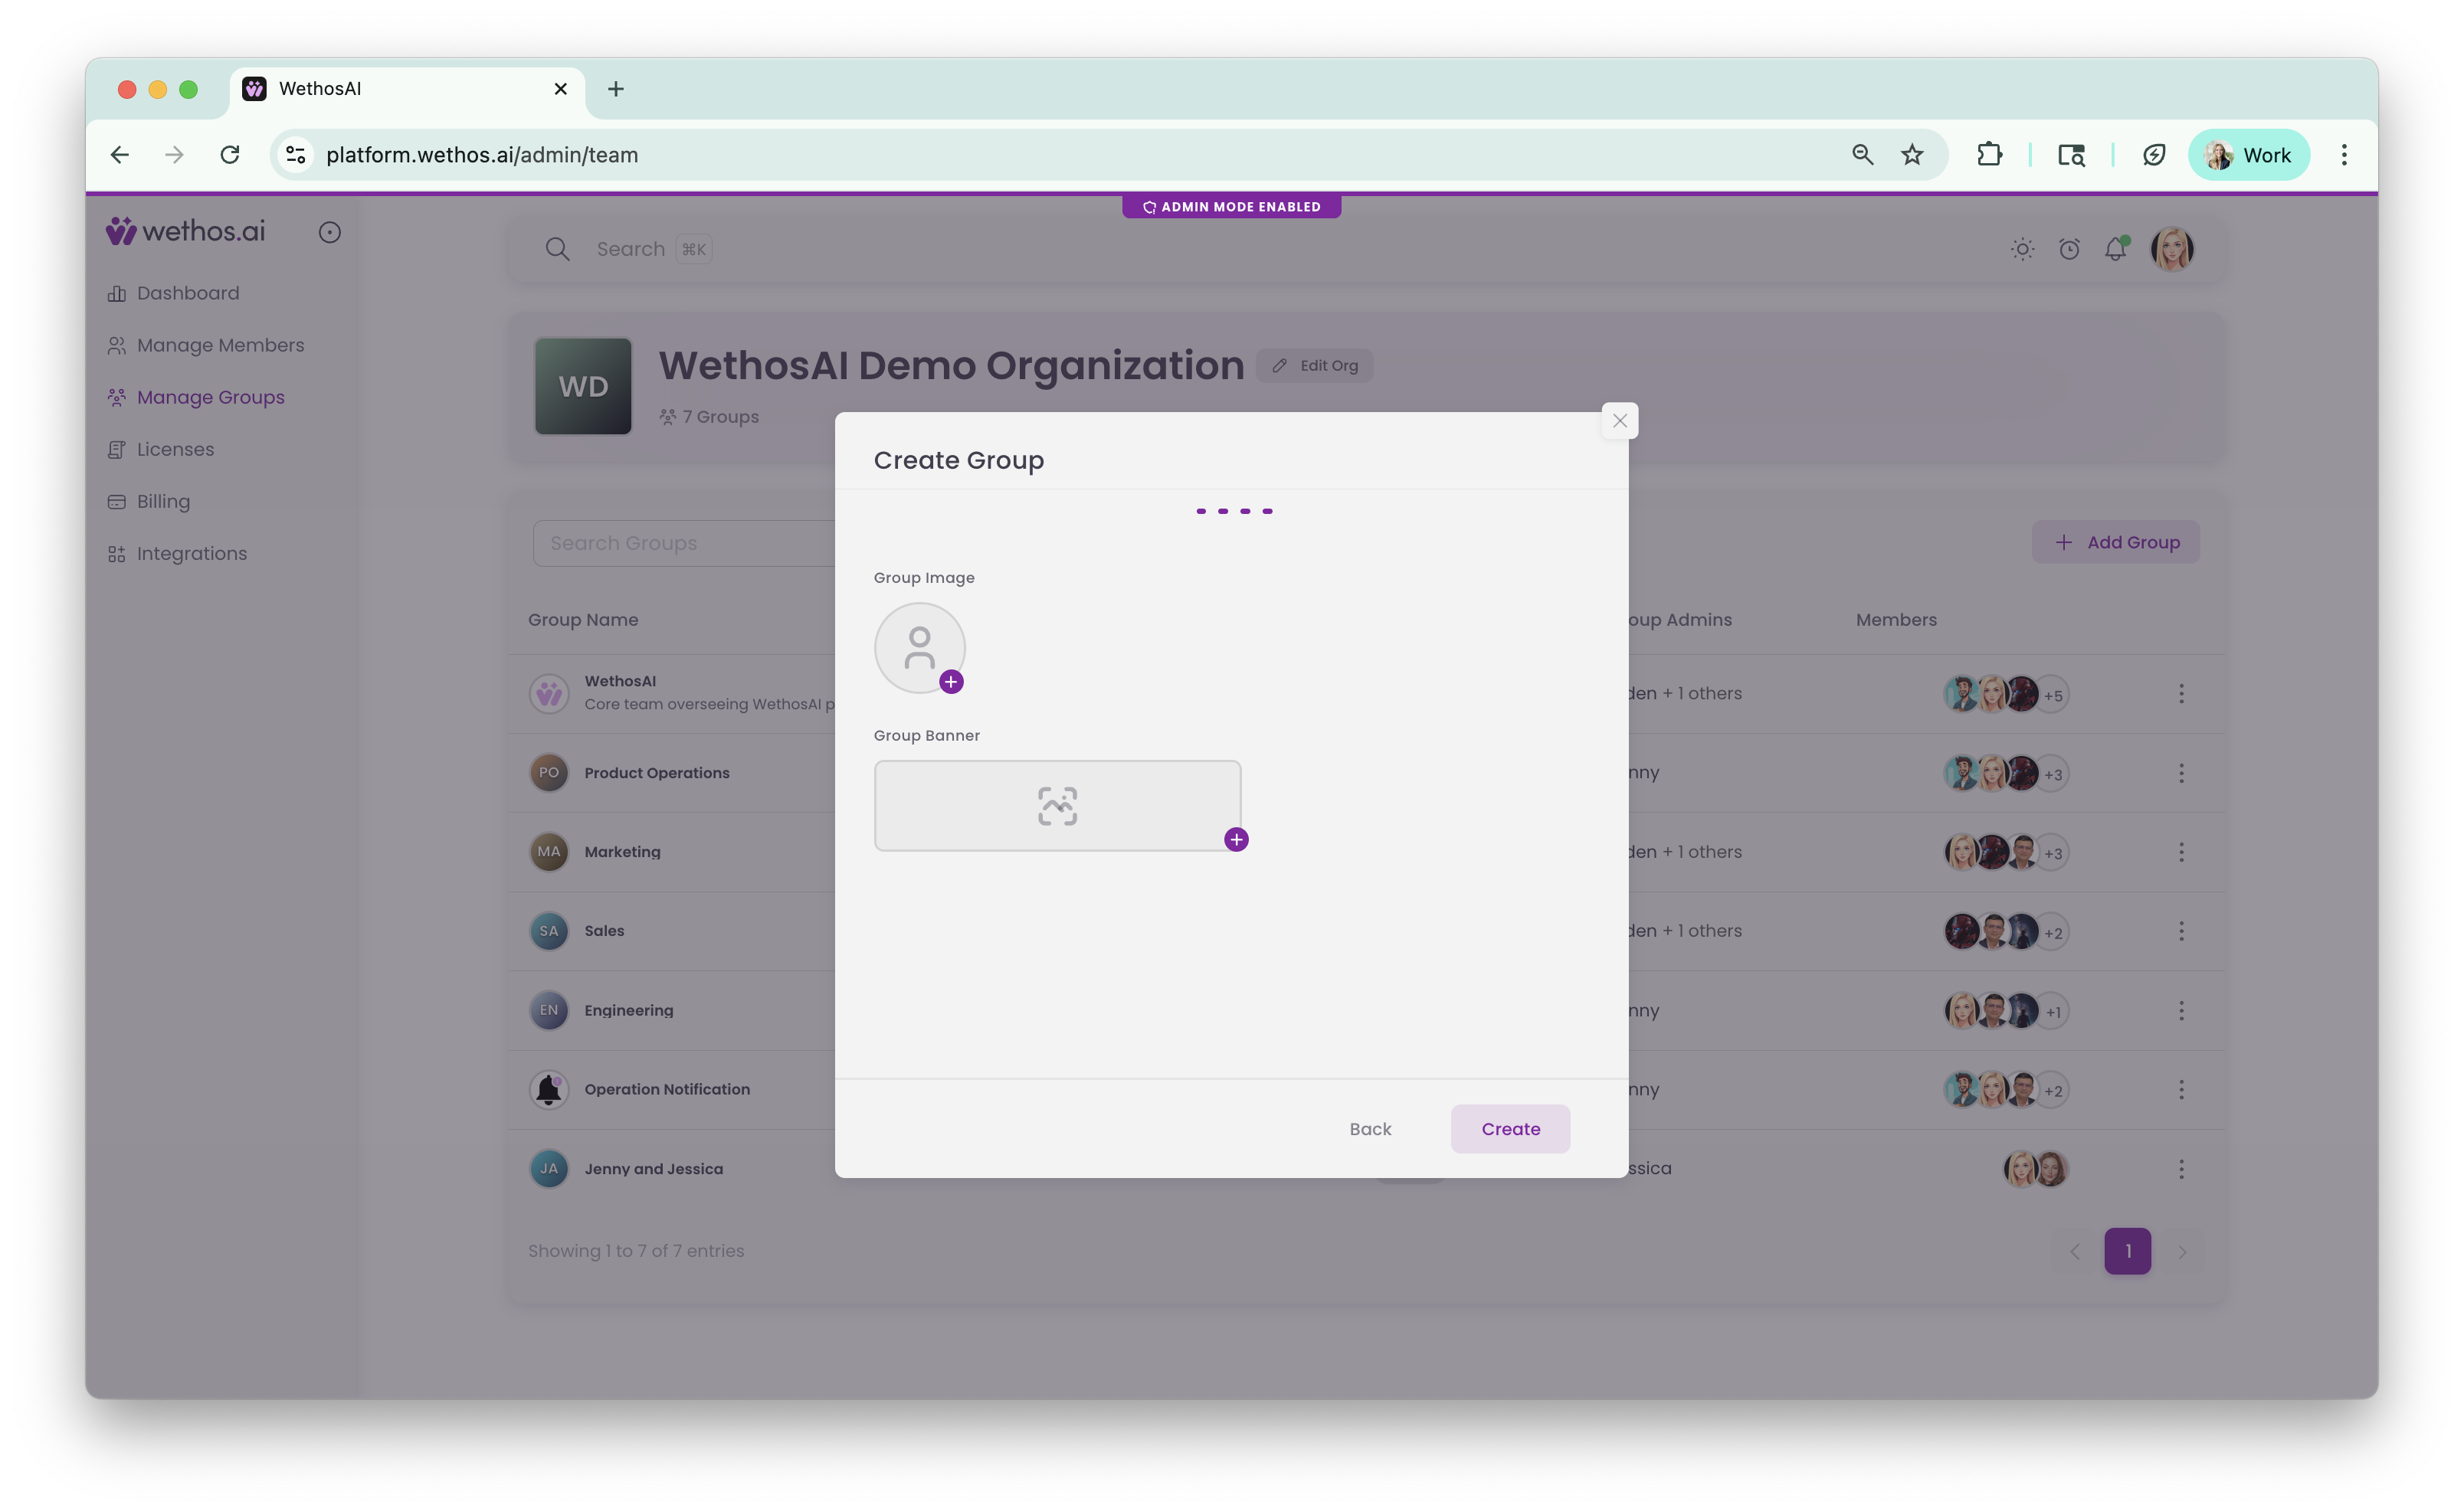
Create the group
Click Create. Your Core Group is now live. Members will be able to access the group from their left-hand navigation under Groups, with full access to the Overview, Members, Biases, Documents, WethosXO, and Shared Conversations tabs.
What happens next
Members see the group in their left-hand navigation. Shared Conversations and Documents are available immediately, and any Brainstorm or Simulation started in the group draws on its description, its documents and the profiles of its members.
Tips
Write a clear, specific group description. XO reads it whenever it is asked a question inside the group, and a specific description gets a specific answer.
Assign at least one additional Group Admin beyond the creator so that group management doesn't depend on a single person.
Add members before they have finished setting up their profile if needed. Their profile appears in the group automatically once it is complete.